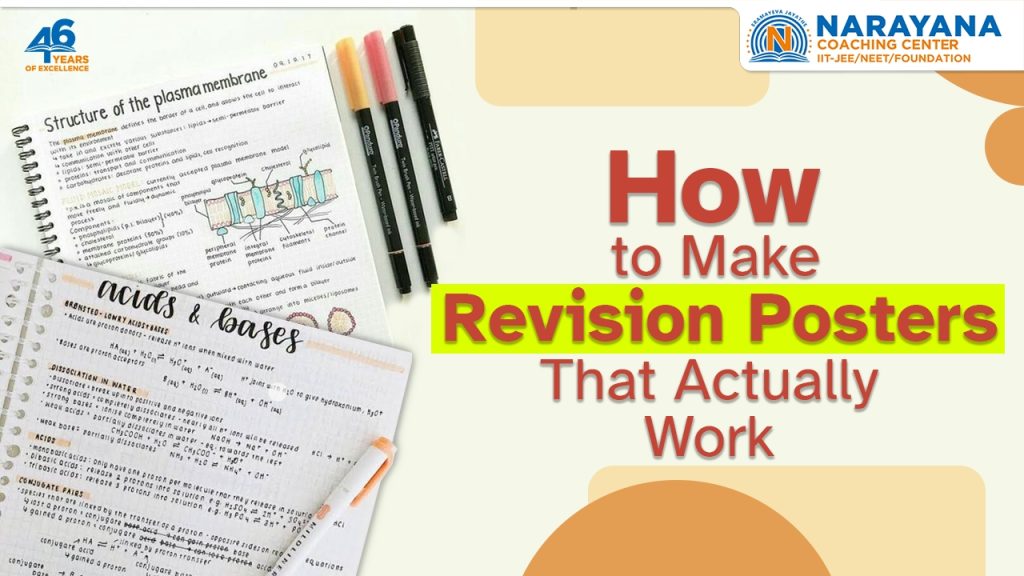
Exams, quizzes, and tests can feel overwhelming, but revision posters are a powerful tool to simplify learning and boost memory. When designed the right way, these visual aids transform complex topics into digestible, easy-to-remember content. Whether you’re in Grade 6 or 12, here’s how you can make revision posters that actually work.
Why Use Revision Posters?
Revision posters are a highly visual way to summarise key information. They help you:
- Visualise concepts clearly
- Connect ideas more easily
- Recall facts faster
- Reduce study-related stress
They’re especially useful for subjects like science, history, geography, and even maths.
Step 1: Pick Your Topic Wisely
Don’t try to cram an entire textbook onto one poster. Choose a single topic, chapter, or concept that you’re struggling with—or one that’s crucial for your exam. For example:
- The water cycle (Geography)
- Algebraic formulae (Maths)
- The Cold War (History)
- Human anatomy (Biology)
Step 2: Gather Key Information
Use your textbook, class notes, and reliable online sources to collect:
- Definitions
- Key terms and dates
- Important formulae
- Diagrams or graphs
- Examples or case studies
Highlight the information that helps you understand and remember the topic.
Step 3: Choose the Right Size and Materials
For at-home use, A3 paper works well. If you’re planning to hang it on your wall, you might prefer poster boards or coloured sheets. Use:
- Coloured pens or markers
- Highlighters
- Sticky notes
- Printed images or drawings
Avoid using plain black-and-white text—it won’t engage your brain as effectively.
Step 4: Structure Your Poster Like a Mind Map
Start with the main topic in the centre and build outward:
- Use branches for sub-topics
- Include bullet points or short phrases
- Avoid long paragraphs
- Use arrows to show connections between ideas
This structure makes it easier to understand the relationships between concepts at a glance.
Step 5: Use Colour-Coding for Clarity
Colour-coding isn’t just for decoration—it helps your brain categorise and recall information more effectively. Try these methods:
- Blue for definitions
- Green for example
- Red for important facts or dates
- Yellow for questions or tips
Stick to a consistent colour scheme across multiple posters.
Step 6: Add Diagrams and Visuals
A picture is worth a thousand words—and is often much easier to remember. Draw or print:
- Flowcharts
- Labelled diagrams
- Timelines
- Graphs
For example, a labelled heart diagram in biology or a timeline for WWII events in history may be far more memorable than text alone.
Step 7: Include Mnemonics and Acronyms
Make use of memory tricks! These tools make facts easier to remember:
- PEMDAS for maths (Parentheses, Exponents, Multiplication, Division, Addition, Subtraction)
- HOMES for the Great Lakes (Huron, Ontario, Michigan, Erie, Superior)
- Rhymes or silly sentences
Get creative and invent your own for any subject!
Step 8: Ask Yourself Questions
Posters should be interactive too. Include questions such as:
- “What causes acid rain?”
- “How does osmosis work?”
- “What were the key outcomes of the Cold War?”
Writing and answering questions reinforce your learning.
Step 9: Keep It Simple and Clear
Avoid clutter—posters that are too crowded become difficult to read and lose their effectiveness. Stick to:
- One main topic per poster
- Bold headings
- Simple language
Use bullet points and short sentences.
Step 10: Display Your Posters Smartly
Hang your posters in places you see frequently, such as:
- Your bedroom wall
- Your study area
- Inside your closet door
Review them briefly every day—repetition strengthens memory.
Step 11: Rotate Posters Weekly
To avoid “poster blindness”—when you stop noticing them—change them every week. This keeps your study environment fresh and your brain alert.
Step 12: Use Digital Tools if Needed
Prefer working on a tablet or computer? Try Canva, Google Drawings, or PowerPoint. Digital posters can be printed or saved to your devices for easy access.
Step 13: Collaborate with Friends
Group study can be very effective! Make posters together:
- Divide topics among group members
- Share your posters
- Teach one another
Explaining a poster to someone else is a powerful way to test your knowledge.
Step 14: Test Yourself
Use your poster to quiz yourself:
- Cover sections and try to recall details
- Turn key facts into flashcards
- Use the poster before mock tests or quizzes
Active recall solidifies memory and boosts retention.
Step 15: Update Posters Before Final Exams
As exams approach, revise your posters with new insights or feedback. Keep them up to date and focused on likely exam topics.
Conclusion
Revision posters are more than just colourful classroom decorations—they’re powerful memory tools. With a bit of planning and creativity, you can make posters that boost your understanding, build confidence, and improve exam scores. Whether you’re preparing for a science quiz in Grade 6 or tackling calculus in Grade 12, a well-crafted revision poster can be your secret weapon for success.
FAQs
Q1: What subjects are best suited for revision posters?
A1: Subjects like science, history, geography, and maths benefit the most due to their conceptual and visual nature.
Q2: Can digital revision posters be as effective as paper ones?
A2: Yes, especially if they are interactive or reviewed regularly on devices you use frequently.
Q3: How many posters should I make per subject?
A3: Aim for one poster per major topic or chapter. Quality matters more than quantity.
Q4: Is it okay to include jokes or memes in posters?
A4: Absolutely—if they help you remember the topic better and stay on track, go for it!
Q5: How often should I change my revision posters?
A5: Weekly rotations are ideal to prevent your brain from ignoring them due to overexposure.
